Setting Up a WireGuard VPN: A Step-by-Step Guide


Virtual Private Networks are essential tools, offering enhanced privacy, security, and access to geo-restricted content. Among the plethora of VPN technologies available, WireGuard stands out for its simplicity, speed, and state-of-the-art cryptography. This guide will walk you through setting up a WireGuard VPN for internet access, ensuring you can enjoy the web in peace, without relying on 3rd party providers.
Introduction to WireGuard

Before diving into the setup process, let's understand what makes WireGuard the preferred choice of many. WireGuard is a lightweight VPN protocol that aims to be faster, simpler, and leaner than IPsec and OpenVPN. WireGuard leverages advanced cryptographic primitives like ChaCha20 for encryption, Poly1305 for authentication, and Curve25519 for key exchange, making it very secure. WireGuard contains fewer than 4,000 lines of code, which makes it easy to audit, boosts efficiency and performance, and adds another layer of security through simplicity (the complex code in other VPNs leaves room for future vulnerabilities).
Meanwhile, WireGuard’s performance improvements over these older VPN protocols make it appealing for both personal and professional use. Many organizations use WireGuard as the backbone for site-to-site VPNs, due to its low overhead and high throughput. Numerous studies have benchmarked WireGuard’s performance against legacy protocols like IPsec and OpenVPN, showing significantly better performance in terms of connection times, throughput, and lower packet overhead.
Complementing these technical advantages is WireGuard's extensive cross-platform compatibility, supporting a wide array of operating systems including Linux, Windows, macOS, BSD, iOS, and Android, as well as router support on OpenWrt, MikroTik RouterOS, FreeRTOS, and more.
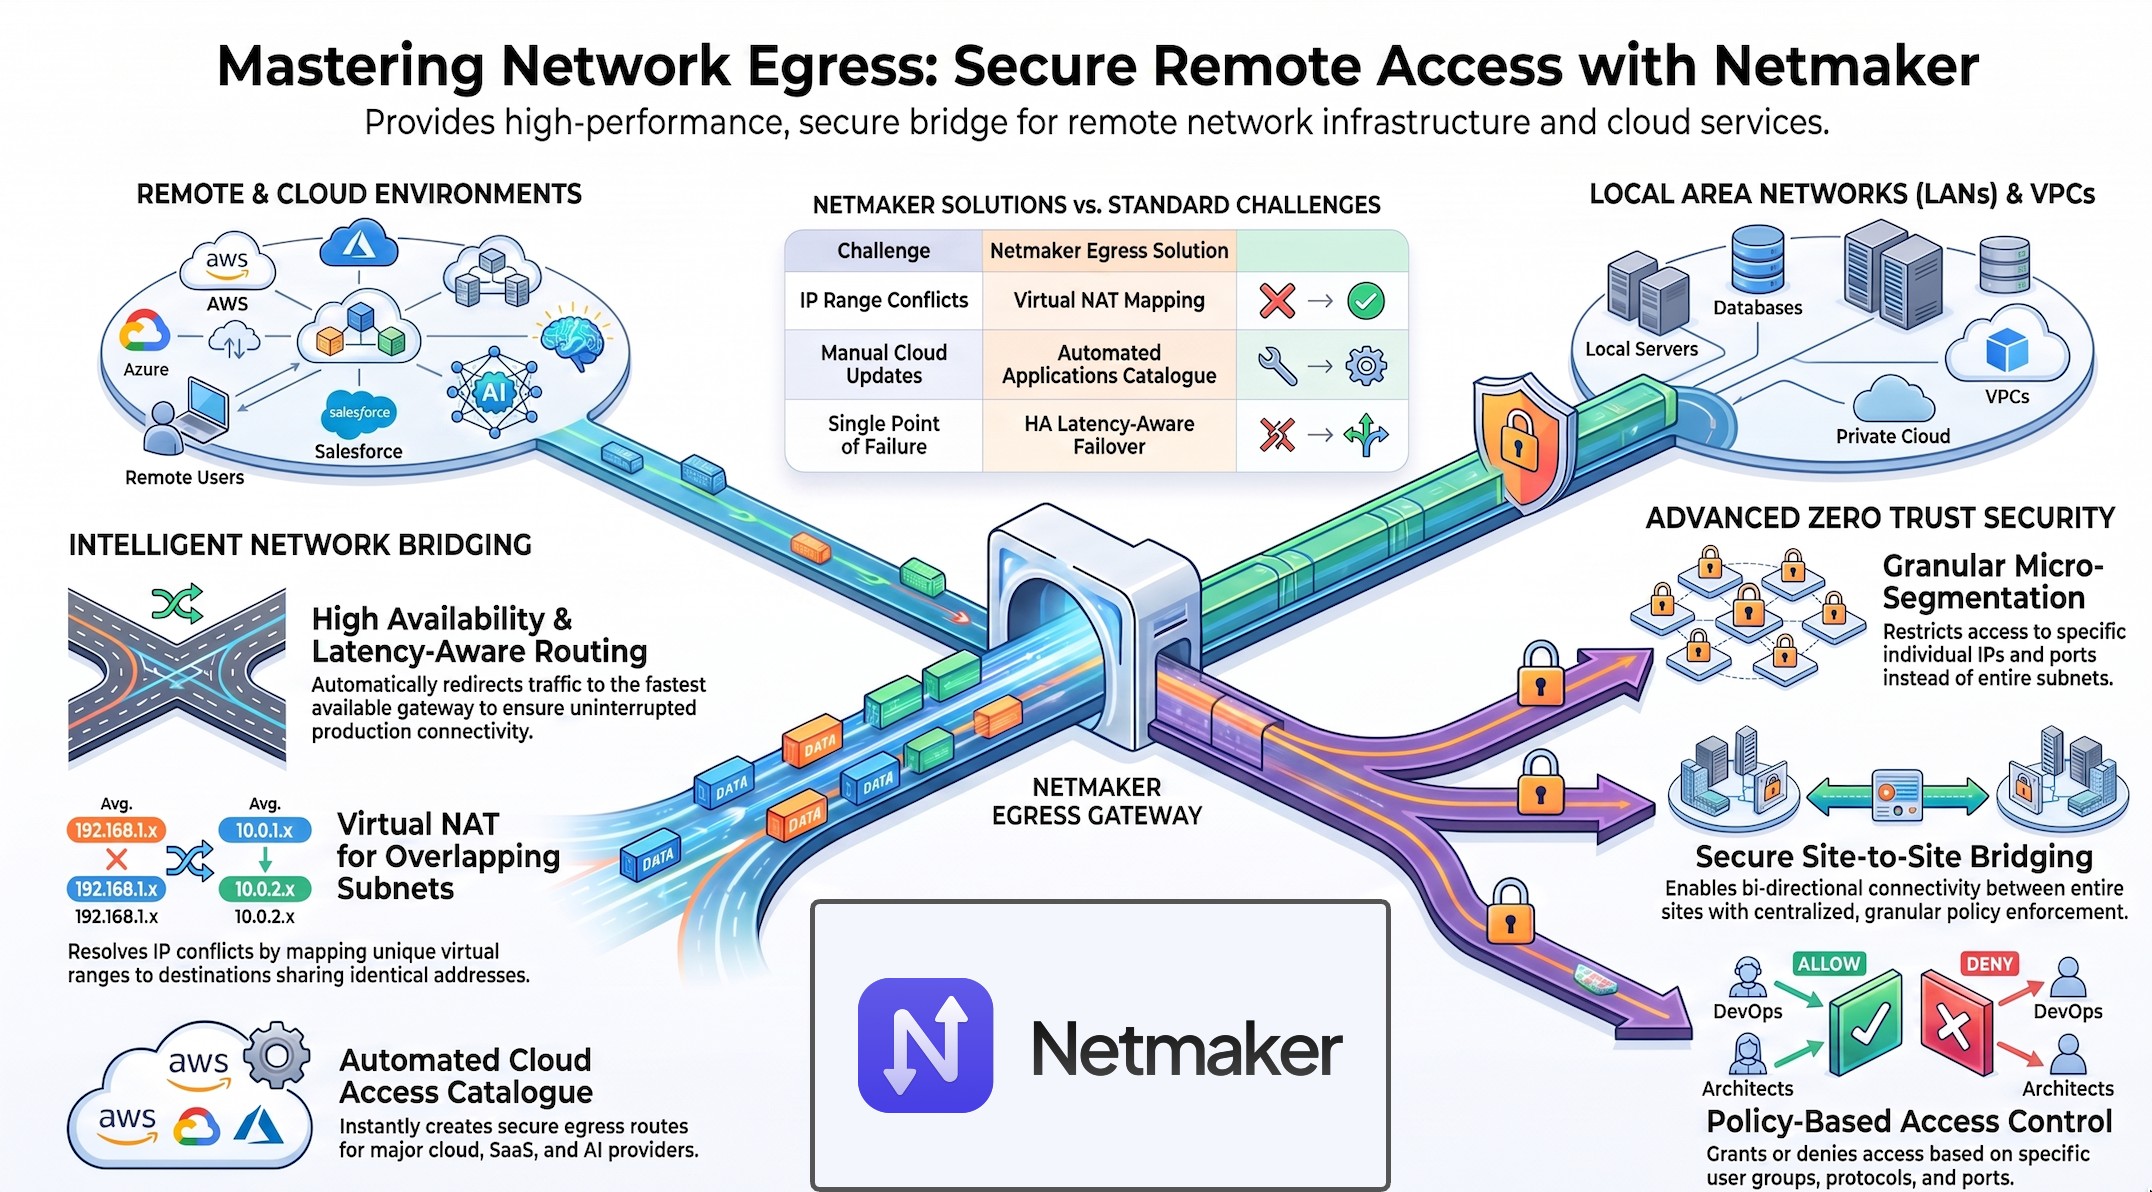
WireGuard allows for use cases ranging from simple (like we’ll cover here) to advanced setups, like split tunneling and site-to-site communication. For businesses looking to deploy more complex WireGuard setups, platforms like Netmaker exist to automate WireGuard’s deployment and configuration, and keep management simple.
While in this tutorial, we’ll only walk through setting up a simple internet access VPN with WireGuard, it’s important to note that WireGuard enables you to deploy many different types of VPNs!
Prerequisites
Setting up a WireGuard VPN for internet access requires the following:
- A VPS (Virtual Private Server) or any server with a public IP address. some text
- You should have access to the server's command line (typically via SSH)
- Port 51820/udp should be exposed, for the WireGuard connection
- WireGuard software installed on both the server and your local machine / device (client).
- Basic knowledge of networking and command-line tools.
- Basic knowledge of networking and command-line tools.
Step 1: Installing WireGuard

The installation process varies depending on your operating system. Here's how you can install WireGuard on popular systems:
For Ubuntu/Debian systems:
sudo apt update
sudo apt install wireguard -y
For CentOS/Fedora systems:
sudo yum install epel-release elrepo-release
sudo yum install kmod-wireguard wireguard-tools
For Windows and macOS:
Download and install the WireGuard client from the official website.
Step 2: Configuring the WireGuard Server

1. On your WireGuard Server - Generate server public and private keys:
wg genkey | tee privatekey | wg pubkey > publickey
2. On your WireGuard Client - Generate client public and private keys:
wg genkey | tee privatekey | wg pubkey > publickey
Note: You can generate both keypairs on the server, but it is safer to generate keypairs on the individual machines.
3. On your WireGuard Server - Create a WireGuard configuration file:
sudo nano /etc/wireguard/wg0.conf
Add the following contents, replacing ` <ServerPrivateKey>` with your generated server private key and replacing ` <ClientPublicKey>` with the generated public key from the client:
[Interface]
Address = 10.0.0.1/32
ListenPort = 51820
PrivateKey = <ServerPrivateKey>

[Peer]
PublicKey = <ClientPublicKey>
AllowedIPs = 10.0.0.0/24
To enable ip forwarding, edit this file using nano:
sudo nano /etc/sysctl.conf
Add this line to the end of that file:
net.ipv4.ip_forward=1
And then use the command below to enable the flag:
sudo sysctl -p
Start the WireGuard Interface:
wg-quick up /etc/wireguard/wg0.confStep 3: Configuring WireGuard Client
1. Create a WireGuard configuration file for the client on the client machine:
sudo nano /etc/wireguard/wg0.conf
2. Add the following contents, replacing ` <ClientPrivateKey>` with your generated client private key and replacing ` <ServerPublicKey>` with the generated public key of the server from the previous step. Also, replace the ‘<ServerIP>’ with the server’s public IP address:
[Interface]
Address = 10.0.0.2/32
ListenPort = 51820
PrivateKey = ‹ClientPrivateKey>

[Peer]
PublicKey = <ServerPublicKey>
Endpoint = <ServerIP>:51820
AllowedIPs = 0.0.0.0/0
Step 4: Connecting the Client to the Server
1. On the client device, start the WireGuard interface:
wg-quick up /etc/wireguard/wg0.conf
2. Test the connection status by doing a ping command from the client:
- ping 10.0.0.1
3. Check the connection status from WireGuard
wg show
This command displays the current connections and transfer statistics.
Step 5: Securing Your WireGuard VPN

Security is crucial when setting up any VPN. Here are some tips to secure your WireGuard VPN:
- Limit access: Restrict server SSH access to known IPs and use firewalls to limit open ports.
- Regular updates: Keep your server and WireGuard software updated.
- Secure keys: Safely store your private keys and do not share them.
- DNS leakage prevention: Ensure your DNS requests are routed through the VPN to prevent leaks.
- Using Netmaker ensures secure defaults for WireGuard configurations and Access Controls.
Next Steps
Was that easy enough? Why don’t you try something a little more challenging:
- Try setting up WireGuard for remote access to your homelab or office
- Try creating a peer-to-peer network with WireGuard.
Simplify Your WireGuard Network with Netmaker
While WireGuard offers exceptional performance and security, setting up and managing WireGuard networks for more complex use cases can be tough. This is where Netmaker comes in. Netmaker is a powerful tool that automates the deployment and management of WireGuard networks, making it easier for organizations to leverage WireGuard's benefits across large, complex infrastructures:
- Automated Configuration: Netmaker automates the process of generating and distributing WireGuard configurations, saving you time and reducing the potential for errors.
- Centralized Management: Manage all your WireGuard peers from a single dashboard, making it easy to add, remove, or modify connections.
- Scalability: Whether you're managing a handful of connections or thousands, Netmaker will keep your network in sync and your peers updated.
- Advanced Features: Leverage Netmaker's advanced features like access controls, user auth, and automatic key rotation to enhance your network's security and functionality.
Ready to take your WireGuard network to the next level? Why not try setting up a Self-Hosted Netmaker server, and get maximum control of your WireGuard setup and management process. You can even use that cloud VPS you just set up.


.svg)