NAT Traversal: How Devices Seamlessly Connect to the Internet

NAT, or network address translation, serves as a translator for IP addresses, enabling private, local network addresses to communicate with the public internet. Imagine you're at home, scrolling through your phone, laptop, or any device connected to your WiFi. The chances are high that your device is using a private IP address assigned by your router, and here's where NAT steps in.
Say you want to check out the latest tech gadgets online. You type in the web address, hit enter, and your request zips through your router to the wider internet. However, before your request leaves the safety of your home network, your router performs a quick switcheroo. It replaces your device's private IP address with its own public IP address. This switch is essential because, without it, your request would get lost the moment it stepped out into the internet.
If your home network didn't use NAT, every single device connected to your router would need its own unique public IP address to communicate with the internet. Not only are these public addresses a limited resource (we're talking about IPv4 addresses, by the way), but having a direct line from every device to the wild web poses security risks.
It's a clever, necessary trick that conserves the number of public IP addresses we need and adds a layer of obscurity to our private networks. However, it's important to remember that NAT, by itself, doesn't provide security. Sure, it hides your private IP addresses from the public internet, but it doesn't protect against malicious attacks or snoopers.
NAT traversal
For example, when you're using a video calling app on your phone, and you're behind a NAT (like your home Wi-Fi), NAT traversal techniques ensure that the video stream reaches your phone specifically, even though the outside world only sees one public IP address for your entire Wi-Fi network. Techniques like STUN (Session Traversal Utilities for NAT) or TURN (Traversal Using Relays around NAT) are employed by the app to facilitate this.
STUN (Session Traversal Utilities for NAT)
STUN (Session Traversal Utilities for NAT) is a protocol that helps devices discover their public IP address and the type of NAT they are behind. It enables applications, such as VoIP and video conferencing, to determine the external IP and port number that correspond to their internal address. By querying a STUN server on the internet, a device can learn its public-facing IP address and port, as well as ascertain whether its NAT supports endpoint-independent mapping. This information is crucial for establishing direct peer-to-peer connections, which helps in reducing latency and improving the quality of the communication.
TURN (Traversal Using Relays around NAT)
TURN (Traversal Using Relays around NAT) is a protocol designed to assist in scenarios where direct peer-to-peer communication is not possible, typically due to restrictive NAT types or firewalls. TURN servers relay traffic between devices, acting as an intermediary to ensure data reaches its destination. This is particularly useful for real-time applications like video calls or online gaming, where maintaining a stable and reliable connection is essential. Although TURN can introduce additional latency due to the extra hop in the communication path, it guarantees connectivity in situations where other NAT traversal techniques fail. TURN is often used in conjunction with STUN to maximize the chances of successful communication.
NAT traversal is essential because it underpins the functionality of countless modern applications that require inbound connections, from gaming and file sharing to VoIP services like Skype or Zoom. Without it, our devices hidden behind NAT would be unable to form meaningful connections with the outside world, making many of the services we take for granted today impossible.
Static NAT
Imagine you've got a server inside your network. Let's call it a web server, and for the sake of illustration, it has a private IP address of 192.168.1.10. Now, you want this server to be accessible from the outside world, but here's the catch: outside folks can't directly reach this private IP. This is where Static NAT comes to the rescue. To set this up, you would typically enter a command somewhat like this (the exact syntax can vary depending on your device):
This command is basically telling your NAT device to always translate the private IP address 192.168.1.10 to the public IP address 203.0.113.5 and vice versa. Pretty straightforward.
One of the biggest perks of using Static NAT is it ensures a one-to-one mapping between the private and public IP addresses, guaranteeing that your internal server is always reachable via the same public IP address. This is particularly useful for hosting websites, FTP servers, or even gaming servers where a constant address is necessary for users to connect to.
However, it's worth mentioning that while Static NAT is incredibly handy, it does chew up one public IP address per internal host you wish to expose. In today's world, where IPv4 addresses are becoming scarce commodities, it's something to keep in mind.
Also, remember that exposing your internal devices to the outside world does come with its security implications. So, ensuring your servers are patched, and your firewalls are properly configured is crucial when venturing into the world of Static NAT.
Dynamic NAT
Dynamic NAT might sound a bit intimidating at first, but let me break it down for you in a way that's easy to understand. Unlike static NAT, where you have to manually pair a private IP address with a public one, dynamic NAT does the heavy lifting for you. It selects an available public IP from a predefined pool and assigns it to a private IP address on your network whenever there's a request to access the internet.
Now, let's dive a bit deeper into how you set this up on a Cisco router because that’s where you’ll likely encounter this the most. The setup involves a couple of steps, but don’t worry, I'll guide you through them.
First, you'll need to define which of the router interfaces is facing your internal network (the inside) and which one is facing the internet (the outside). This is done using the `ip nat inside` and `ip nat outside` commands on the respective interfaces. For example, if you're configuring interface f0/0 as inside, you’d enter interface configuration mode and type `ip nat inside`. You'd do the opposite for the outside interface.
The next step is creating an Access Control List (ACL). This list specifies which private IP addresses are allowed to be translated. For a typical home or small office network, this could be all the devices on your subnet. You can define an ACL that includes all IP addresses in the 10.0.0.0/24 network by using the command `access-list 1 permit 10.0.0.0 0.0.0.255`.
With your ACL defined, you then create a pool of public IP addresses that your inside devices will be mapped to. This pool contains the range of public IP addresses your ISP has provided you. Here's how you might define a pool named MY-NAT_POOL with a range of three addresses and a subnet mask: `ip nat pool MY-NAT_POOL 155.4.12.1 155.4.12.3 netmask 255.255.255.0`.
Finally, you tie this all together by telling the router to use the ACL to determine which inside addresses should be dynamically translated to the addresses in your global pool. This is accomplished with the command `ip nat inside source list 1 pool MY-NAT_POOL`.
Let’s put this in context with an example. Imagine Host A on your private network wants to access an internet resource, like a web server. Host A sends the request to the router using its private IP address. The router, having been configured for dynamic NAT, takes this request, checks its NAT table (and if necessary, updates it), and replaces Host A's private IP with a public IP from the defined pool. The server on the internet sees this public IP, responds to it, and the router reverses the translation for the response back to Host A's private IP.
To see if it works, you can generate some traffic, for instance, by pinging a public IP from a device on your network. After doing this, if you quickly check the NAT translations on your router with the `show ip nat translations` command, you should see the mapping between your internal device’s private IP and the public IP it’s been assigned.
This dynamic assignment makes managing a network so much easier since you don't have to manually configure IP mappings for every device that needs internet access. Plus, it efficiently utilizes a limited pool of public IP addresses since these are only tied to internal devices while a session is active, freeing them up when the session ends.
Port Address Translation (PAT)
PAT is a type of network address translation (NAT) used for remapping a communication request from one IP address and port number combination to another while the packets are traversing a network gateway, like a router or a firewall. This is especially handy in situations where you have multiple devices that need to access the internet but you're limited by the number of public IP addresses available.
Let me give you a specific example. Imagine you're playing an online game on your console while someone else in your household is streaming a movie, and another person is video conferencing, all through the same internet connection. Without PAT, this scenario would be quite a challenge, as you'd need a public IP address for each device. With PAT, however, each device's internal IP address and port number are translated into your single public IP address but with a unique port number for each session. This way, when data returns from the internet, the PAT device knows exactly which device on the internal network to send it to, even though they all share the same public IP address.
Enhancing Connectivity and Security with Netmaker
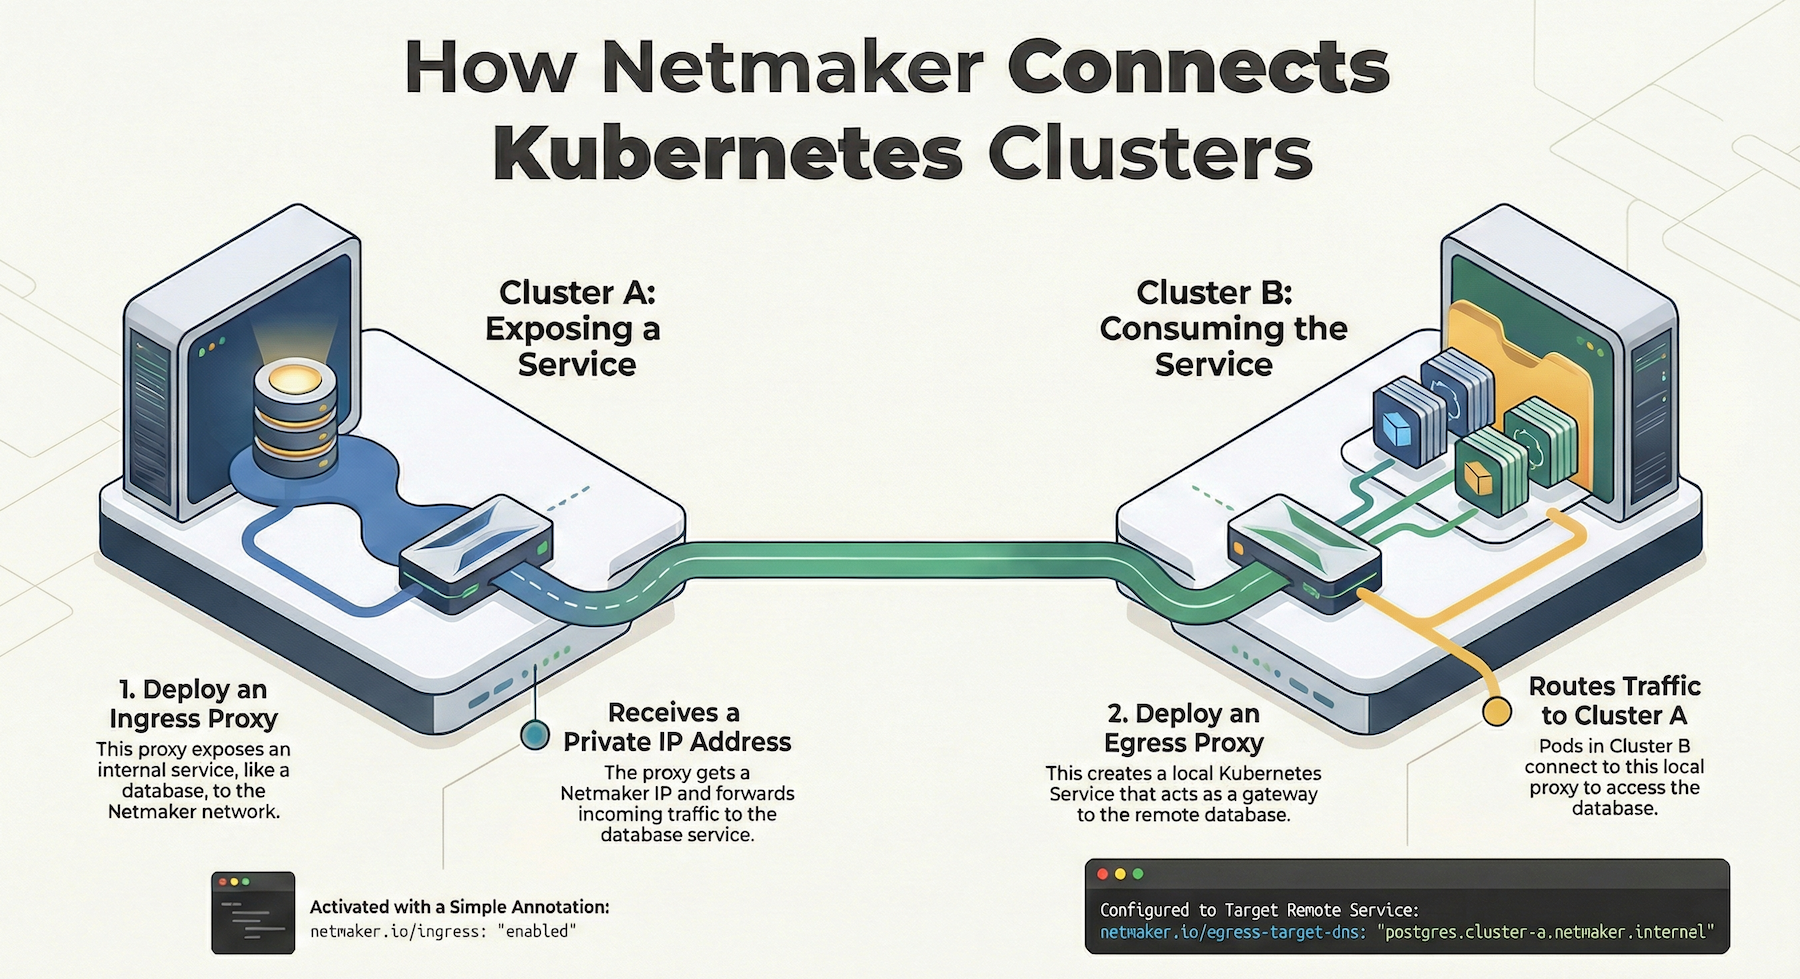
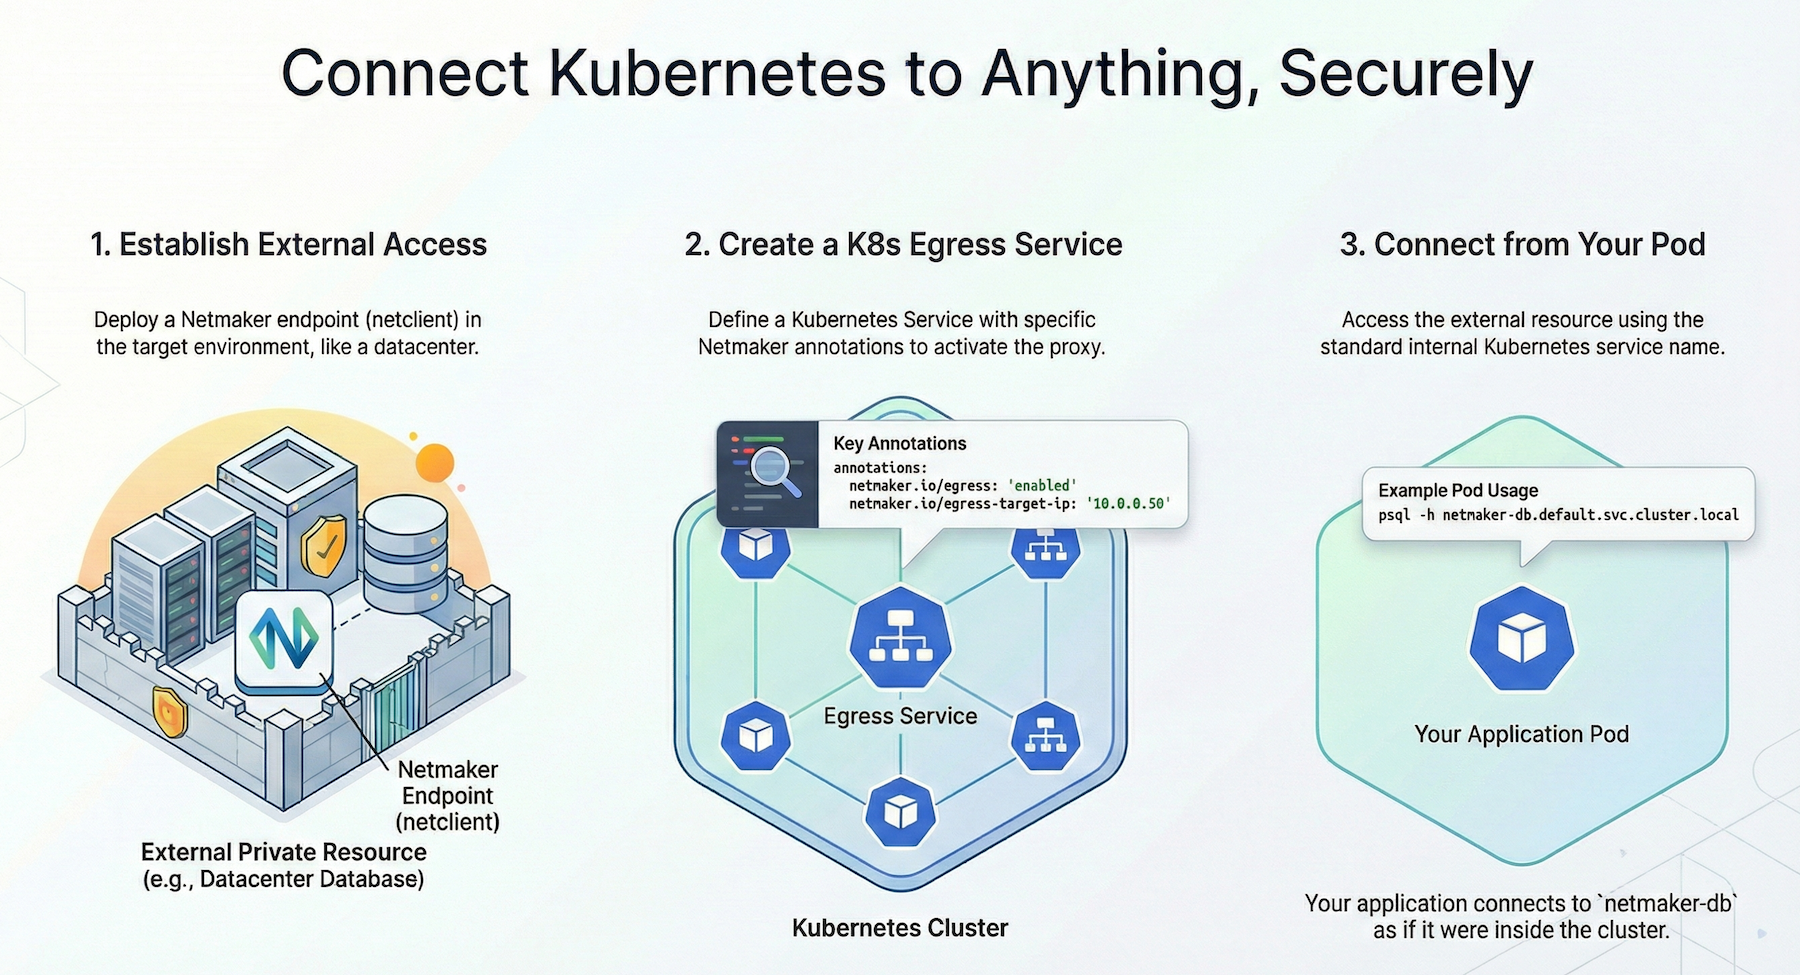
Netmaker offers a robust solution for overcoming the complexities associated with NAT traversal. By leveraging advanced networking techniques, Netmaker facilitates seamless peer-to-peer connectivity, allowing devices behind NATs to communicate efficiently without the need for complex configurations. One of its key features is the ability to create secure, private mesh networks that optimize data flow and improve connectivity across devices, regardless of their location or network barriers. By utilizing WireGuard® VPN technology, Netmaker ensures high-speed, encrypted connections that not only traverse NATs effortlessly but also enhance the overall security of your communications.
Moreover, Netmaker's automated network management capabilities simplify the deployment of secure and scalable networks. It provides a user-friendly interface for setting up and managing mesh networks, making it accessible even for those without extensive networking expertise. With features like dynamic IP management, load balancing, and failover support, Netmaker ensures reliable and uninterrupted communication across your devices. To get started with Netmaker and experience improved connectivity and security, you can sign up here.
.svg)


.svg)